

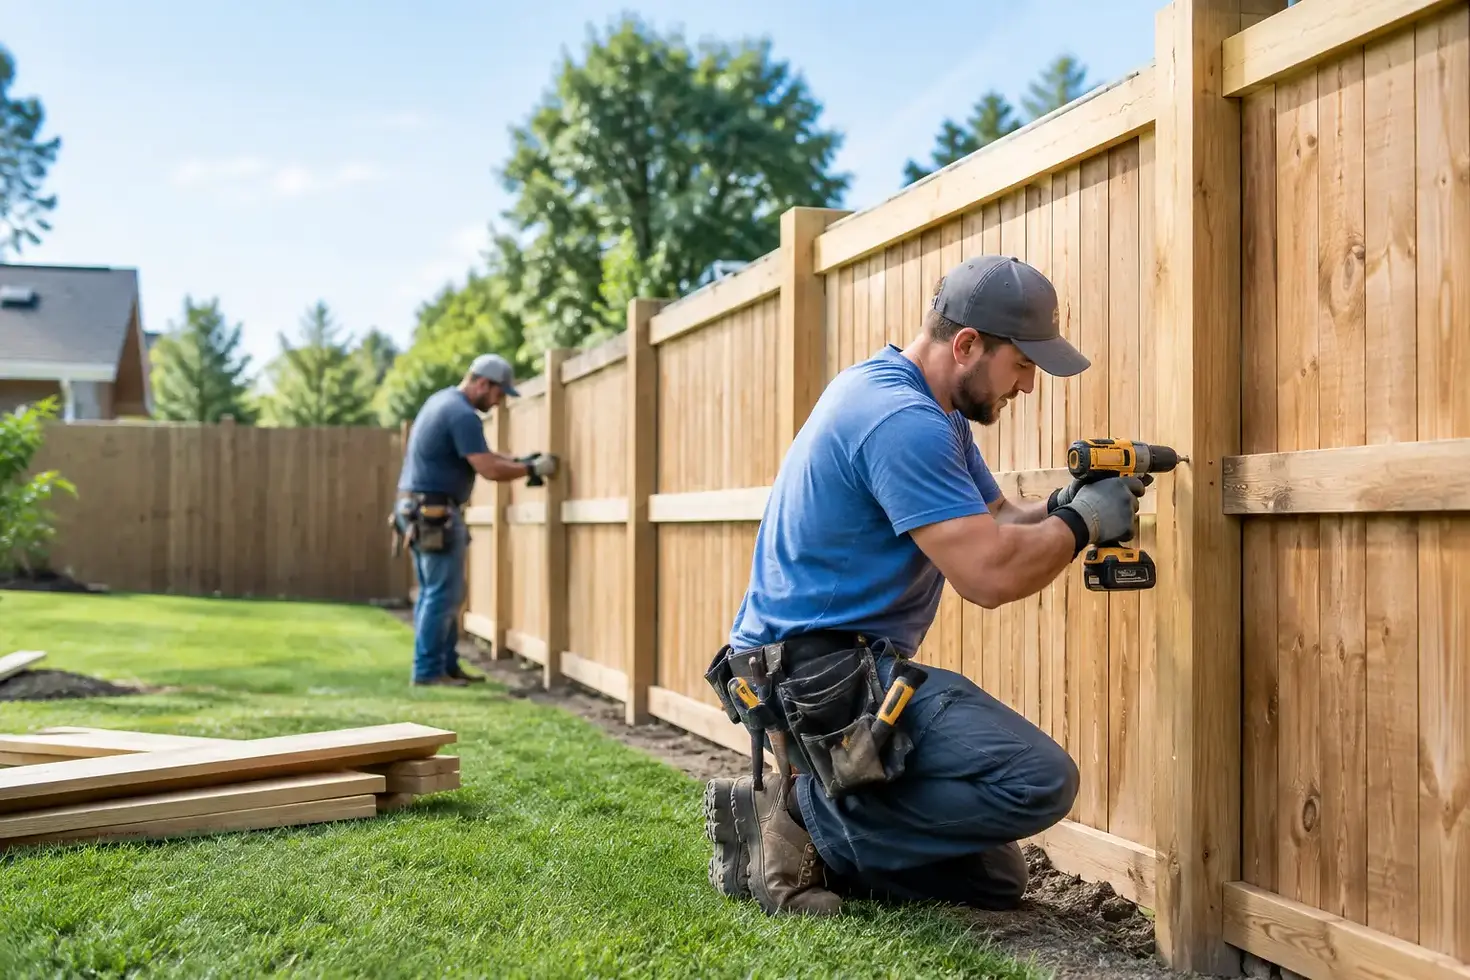
Fence Installation Process: What to Expect

A new fence can change how you use your property almost immediately. It can create backyard privacy, give pets a secure place to play, improve pool safety, or establish a clean boundary around a commercial site. Understanding the fence installation process: what to expect from start to finish helps you plan with confidence and avoid surprises once work is scheduled.
For homeowners and property managers in the Lehigh Valley, the process is not simply about setting posts and attaching panels. A quality installation begins with careful planning, continues with accurate layout and durable construction, and ends with a thorough walkthrough of the finished fence.
Start With Your Property Goals
The first conversation should focus on what you need the fence to accomplish. Privacy fencing may be the priority for a backyard near neighboring homes. A family with a dog may need dependable containment and a gate that latches securely. For a pool, safety requirements, proper gate operation, and local code compliance need to guide the design. Commercial properties may be more focused on perimeter security, access points, and durability.
These goals help determine the right material, height, style, and gate configuration. Vinyl fence installation is a popular choice for homeowners who want a clean appearance with minimal maintenance. Wood offers a traditional look and more design flexibility, but it needs periodic care. Aluminum fencing provides an open, polished appearance that works especially well around pools and landscaped areas. Chain link is often the practical choice for larger yards, pet enclosures, and commercial boundaries.
A professional estimate should account for more than the linear footage. Slopes, corners, existing landscaping, gate locations, soil conditions, and access to the installation area can all affect the scope of work and final price.
Site Visit, Measurements, and Design Choices
Before installation begins, a fence contractor should inspect the property in person. Measurements are taken, potential obstacles are identified, and the proposed fence line is reviewed with you. This is the time to discuss details that affect both appearance and daily use, such as where gates should swing, how wide they need to be, and whether a double gate is needed for lawn equipment or vehicle access.
The site visit also helps prevent common problems. A fence line that looks straightforward on a sketch may cross a steep grade, pass close to a retaining wall, or conflict with a drainage route. A knowledgeable installer can recommend practical adjustments before materials are ordered and work begins.
For a customized fence installation, you may choose post caps, decorative accents, picket spacing, panel style, color, and gate hardware. These decisions are not purely cosmetic. A taller solid-panel vinyl fence delivers more privacy, while an aluminum fence with wider spacing preserves sightlines. The best choice depends on how you want the property to function after the project is complete.
Property Lines, Utility Marking, and Permits
One of the most important steps happens before any holes are dug: confirming where the fence belongs. Homeowners should not assume that an existing hedge, old fence, or informal marker represents the legal property line. If the line is uncertain, review your survey or speak with a qualified surveyor before finalizing the layout.
Utility lines must also be marked before excavation. Underground electric, gas, communications, water, and other services can be damaged if digging begins without proper marking. This step protects your property, your neighbors, and the installation crew.
Permit and zoning requirements vary by municipality. Height limits, setback rules, corner-lot visibility requirements, and pool enclosure regulations may apply. Homeowners associations can also have rules about approved fence materials, colors, and styles. A reliable local fence company can help clarify what may be required, but property owners should understand that permit approval timelines can affect the project schedule.
Scheduling and Preparing the Yard
Once the design, materials, and project details are approved, installation is scheduled. Lead times can vary based on material availability, weather, permitting, and the size of the project. Spring and summer are especially busy, so planning ahead can offer more scheduling flexibility.
Before the crew arrives, clear movable items away from the fence line. Patio furniture, planters, toys, hoses, and lawn decorations should be relocated so the team can work safely and efficiently. If shrubs or low branches extend into the planned fence route, discuss whether trimming or removal is necessary.
You should also plan for pets during the installation. Gates may be open and portions of the yard may be temporarily inaccessible while posts are set and panels are installed. Keeping dogs indoors or arranging another safe area for them is usually the simplest solution.
What Happens on Installation Day
The physical fence installation process begins with layout. The crew marks the approved fence line, confirms corners and gate locations, and checks the alignment before digging. This preparation is what keeps the finished fence straight, balanced, and properly positioned along the property boundary.
Next, post holes are dug at planned intervals and depths appropriate for the fence type, local conditions, and project design. Posts are set carefully for plumb and alignment, then secured according to the installation requirements. Proper post setting is one of the most important parts of a durable fence. Panels and rails can only perform as well as the structure supporting them.
Depending on the material and weather conditions, crews may need time for post footings to stabilize before completing certain portions of the installation. Many standard residential projects can be completed quickly, but a larger property, difficult terrain, custom gates, or unexpected underground obstacles can extend the timeline. Quality work should never be rushed simply to meet an arbitrary one-day target.
After the posts are ready, the crew installs rails, panels, pickets, or chain link fabric. On sloped yards, the fence may be stepped in sections or follow the contour of the ground, depending on the material and style. Both approaches have trade-offs. Stepped sections can create a clean, level-panel look, while contouring can reduce gaps beneath the fence on gradual grades.
Gates, Hardware, and the Details That Matter
Gates deserve particular attention because they are the moving part of your fence system. A properly installed gate should open and close smoothly, latch securely, and have enough clearance to avoid dragging as seasons and ground conditions change.
For pool fencing, self-closing and self-latching gate hardware may be required. For commercial fencing, access-control preparation, wider openings, or heavier-duty hinges may be needed. Discuss these details early, since gate location and width affect the entire fence layout.
The crew should also make practical adjustments during installation. This can include trimming a panel to fit a terminal post, accounting for grade changes, or placing a gate where it is easiest to use from the driveway, patio, or side yard. Precision in these small decisions has a major effect on the finished appearance.
Final Cleanup and Walkthrough
After installation, the crew should remove installation debris, collect excess material, and leave the work area orderly. Some minor soil disturbance around post holes is normal, especially after digging in established yards. Landscaping can usually be restored once the area has settled.
A final walkthrough gives you the opportunity to inspect the fence with the installer. Check the alignment, gate operation, latch function, panel placement, and overall appearance. Ask questions about basic care for your specific material. Vinyl and aluminum generally need occasional washing, while wood may need sealing, staining, or other maintenance over time.
This is also the right time to review workmanship coverage. Ekren Fence Company backs professional installation with a 5-Year Labor Warranty, providing added confidence that your investment is supported after the crew leaves.
Plan for Long-Term Performance
A professionally installed fence is built for everyday use, but a little attention helps preserve its condition. Keep sprinklers from constantly soaking wood sections, avoid piling mulch or soil against fence materials, and inspect gates periodically for loose hardware or changes in alignment. After severe weather, a quick walk around the perimeter can identify issues early.
If you are considering a new fence in Allentown, Bethlehem, Easton, or elsewhere in the Lehigh Valley, begin with a clear idea of how you want the space to work. A detailed on-site estimate gives you the best foundation for choosing the right material, design, and installation plan for your property.


