DIY Metal Fence Installation Step by Step at Home

A metal fence can give a property a clean boundary, secure space for pets, and a polished finished look, but the result depends far more on layout and post placement than on the panels themselves. A DIY metal fence installation step by step project is manageable for a straight, accessible yard with a modest number of panels. Slopes, rocky soil, pool code requirements, and long runs with several gates can turn it into a job where professional experience saves considerable time and rework.
Metal fencing includes several systems with different installation methods. Aluminum fence is a common choice for residential yards because it resists corrosion, requires little maintenance, and works well around pools and landscaped spaces. Steel ornamental fencing offers added strength, while chain link is often the most economical choice for pet containment and security. Always follow the instructions for the specific fence system you purchase, since bracket styles, post spacing, and hardware vary by manufacturer.
DIY Metal Fence Installation Step by Step: Plan First
The first task is confirming exactly where the fence can go. Locate your property lines using a current survey or other reliable documentation. Do not assume an existing hedge, old fence, or neighboring landscaping marks the legal boundary. Installing even a well-built fence in the wrong location can create an expensive dispute.
Next, check municipal requirements, HOA rules if applicable, and utility locations before digging. In the Lehigh Valley, rules on fence height, front-yard placement, pool enclosures, and setback distances can differ by municipality. A pool fence has additional safety requirements, so it should never be treated like a standard backyard project. Contact the appropriate local offices and request utility marking before any post holes are started.
Walk the proposed route and identify challenges before ordering materials. Note changes in grade, mature tree roots, retaining walls, drainage swales, utility boxes, and the desired gate locations. A fence should follow the property thoughtfully without blocking drainage or leaving an awkward gap at a gate.
Measure the full perimeter, then divide each straight run by the manufacturer’s maximum panel width. This tells you the number and approximate placement of line posts. Account separately for end posts, corner posts, gate posts, panels, brackets, caps, fasteners, and concrete. Ordering a small amount of extra hardware is usually wiser than stopping mid-project because one bracket or post cap is missing.
Gather the Right Tools and Materials
Most metal fence installations require a tape measure, string line, stakes, level, post-hole digger or auger, shovel, wheelbarrow, drill, socket set, rubber mallet, and safety glasses. Gloves and sturdy boots are also worthwhile, especially when handling steel panels or mixing concrete.
For materials, use posts and hardware designed for the same fence system as the panels. Mixing components from different manufacturers can lead to improper fit, mismatched finishes, and weaker connections. If you are installing aluminum fencing, use corrosion-resistant fasteners approved for that system.
Concrete is typically used to secure posts, although the hole size and concrete method should follow the manufacturer’s instructions and suit local soil conditions. In Pennsylvania, frost movement is a real consideration. A shallow or poorly compacted post installation can shift over time, leaving panels out of alignment and gates difficult to operate.
Mark Corners, Ends, and Gate Openings
Set stakes at each corner and end point, then run a taut string line between them. The string creates the visual reference for a straight fence run, but it is not automatically the centerline for every post. Check the manufacturer’s instructions to determine whether posts should sit directly under the line or offset from it.
Mark gate openings carefully. Gate posts need to be positioned for the actual gate width plus the required hinge and latch clearances. A gate that is set too tightly may bind as temperatures change or as the ground settles. A gate opening that is too wide can leave an unsightly gap and reduce security.
Measure each run again before digging. This extra check is one of the simplest ways to avoid a fence that finishes several inches short at the final post. On long runs, mark every post location using the panel dimensions rather than estimating by eye.
Dig and Set the Corner and End Posts
Start with corner, end, and gate posts because they establish the structure for everything that follows. Dig each hole to the depth and diameter recommended for your system. The exact depth depends on fence height, soil, wind exposure, and local frost conditions, but a taller or heavier fence needs a more substantial foundation than a low decorative section.
Place the post in the hole, align it with the string line, and check it for plumb in two directions with a level. Brace it so it cannot move while the concrete is placed. Add concrete according to product directions, keeping the post aligned as you work. Shape the top of the concrete slightly away from the post to encourage water runoff rather than allowing water to collect around the base.
Do not rush to hang panels. Concrete needs adequate curing time, and moving a post too soon can throw off an entire run. Check the post again before the concrete fully sets. A small correction at this stage is easy; correcting a leaning post after the fence is assembled is not.
Install Line Posts With Consistent Spacing
Once the structural posts are secure, install the line posts. Use a tape measure to maintain the exact spacing required for each panel. The string line should remain in place as a guide for alignment, but check every post with a level rather than assuming the line alone guarantees a straight installation.
On level ground, panel tops can usually remain consistent from one section to the next. On a slope, determine whether your system should rack or stair-step. Rackable aluminum panels can follow a gradual grade while keeping pickets vertical. Stair-stepped sections remain level from post to post and create visible steps along the slope. The right choice depends on the fence style, the steepness of the grade, and whether the gap beneath the fence affects pet containment or appearance.
Avoid forcing panels into a slope they were not designed to handle. This can bend rails, create uneven picket spacing, or put stress on brackets. Steep grades are one of the clearest signs that a professional site assessment is worthwhile.
Attach Panels and Hardware Carefully
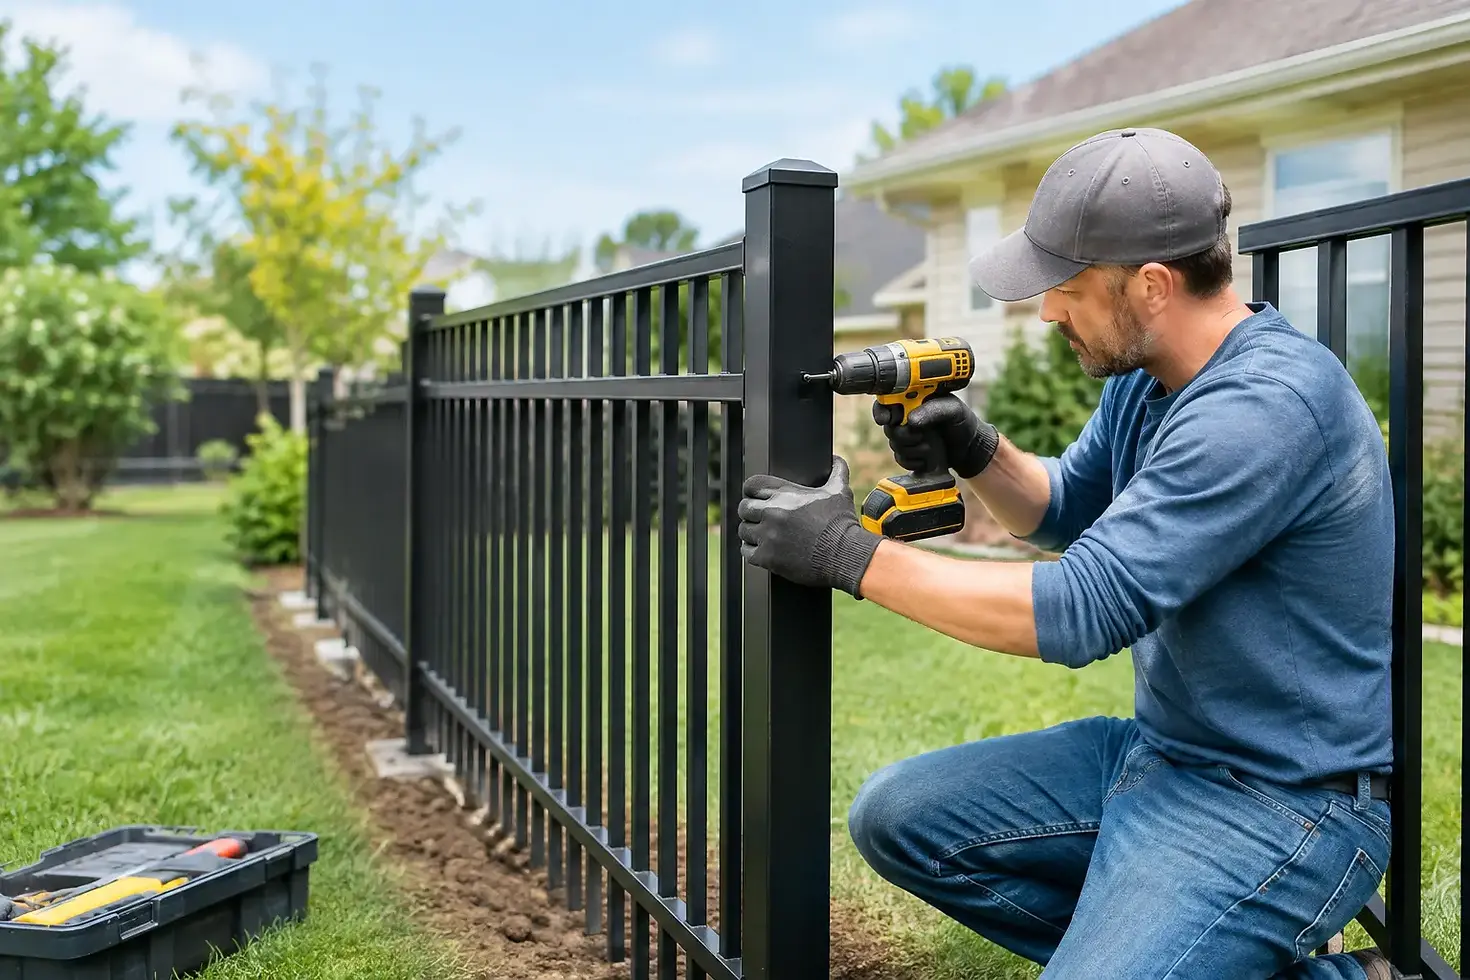
After line posts are set and checked, attach the panels using the brackets and fasteners supplied or approved by the manufacturer. Work one section at a time. Position the panel at the planned height, confirm it is level, and then secure the brackets. Tighten fasteners firmly without over-tightening them, particularly on aluminum components that can be damaged by excessive force.
Stand back after every few panels and look down the fence line. A small alignment issue can be corrected early, while a gradual drift becomes much more noticeable after the entire run is complete. Check spacing beneath the panels as well, especially if the fence is intended to contain a dog or provide pool safety.
Install post caps after the panels are secure. Caps improve the finished appearance and help keep water and debris out of hollow posts. If the system uses decorative finials or special rail ends, confirm they are oriented consistently before fastening them permanently.
Hang and Adjust the Gate Last
A gate should be installed only after its posts are fully secure. Attach hinges according to the manufacturer’s layout, then hang the gate and test its swing before tightening every connection. The gate should open freely, latch reliably, and maintain reasonable clearance above the ground.
Adjust the hinges and latch as needed. A gate that drags now will not improve with use. For pool areas, use a self-closing, self-latching gate and verify that the complete enclosure meets applicable local safety requirements before the area is used.
Finish by walking the entire fence line. Check post caps, brackets, fasteners, panel alignment, gate operation, and gaps beneath the fence. Clear excess soil and concrete from the work area, then keep the manufacturer’s care instructions for future reference.
Know When Professional Installation Is the Better Value
DIY installation can reduce labor costs, but the savings are smaller if posts have to be removed, panels reordered, or a gate rebuilt. Professional installation is often the better choice for rocky ground, long property lines, commercial sites, pool enclosures, complex grades, and custom gate work. It also provides reassurance that the fence is aligned, secure, and designed around the property rather than simply fitted into it.
For homeowners in Allentown, Bethlehem, Easton, and surrounding Lehigh Valley communities, Ekren Fence Company can help evaluate the site, explain material options, and provide a free estimate for professional metal fence installation. A careful plan is the best first tool for any fence project, whether you decide to build it yourself or have an experienced local team handle the details.